 You save a lot of time if you resize your photos all at once instead of one at a time. And if you do it in free Irfanview, you can add a watermark to each of them at the same time!
You can find where to download Irfanview for free on the official Irfanview page. (Always be careful when downloading from the internet.)
Batch resize and watermark to photos using free image software IrfanView
To see how to read my tutorials shorthand, start by reading How to read my WordPress tutorials.
- You need a white watermark image with a transparent background, like a .png file. (If you don’t have a logo image, in Irfanview you can also add a test watermark that you can use to add your blog name or URL.)
- Decide the size you want your photos to be. I have decided on 1200×1604 image size for blog posts as optimal for working best for social media and the blog.
- Resize the watermark to the size you want it to be on your image. (Resize images in irfanview.) Half the length of the short side of my blog post image size of 1200×1604 px looks good to me, 600 px long. With my dimensions, my watermark image ends up being 600×129 px.
- Put all the photos you want to process in one folder on your computer.
- Make a new empty folder to put the processed images in.
- File>Batch Conversion/Rename
- Select the following:
- Batch Conversion
- Output format: JPG
- Use advanced options
- >Advanced
- In the “Set for all images” window select:
- Resize
- Set new size
- Set short side to:
- enter size for short side, for me 1200
- pixels
- Set short side to:
- Set new size
- Preserve aspect ratio
- Use Resample Function
- Add watermark image >Settings
- on the Add overlay/watermark window select:
- 10 offset
- 10 offset
- Right bottom
- > Choose, browse to find your watermark image
- > Open
- 50% transparency
- > OK
- on the Add overlay/watermark window select:
- (note you have the option to save these settings if you want)
- > Okay (in the Set for all images window)
- That window will close, now you’re back to the
- Resize
-
- Batch Conversion window
- Under Output directory for result files: >Browse
- select the folder where you want to put the processed photos, >OK
- next to Look in:, browse to find the folder of your original photos
- > Add all
- > Start Batch
- A new window will show the conversion in progress.
- When it says batch conversion done, > Exit batch.
- Under Output directory for result files: >Browse
- Batch Conversion window
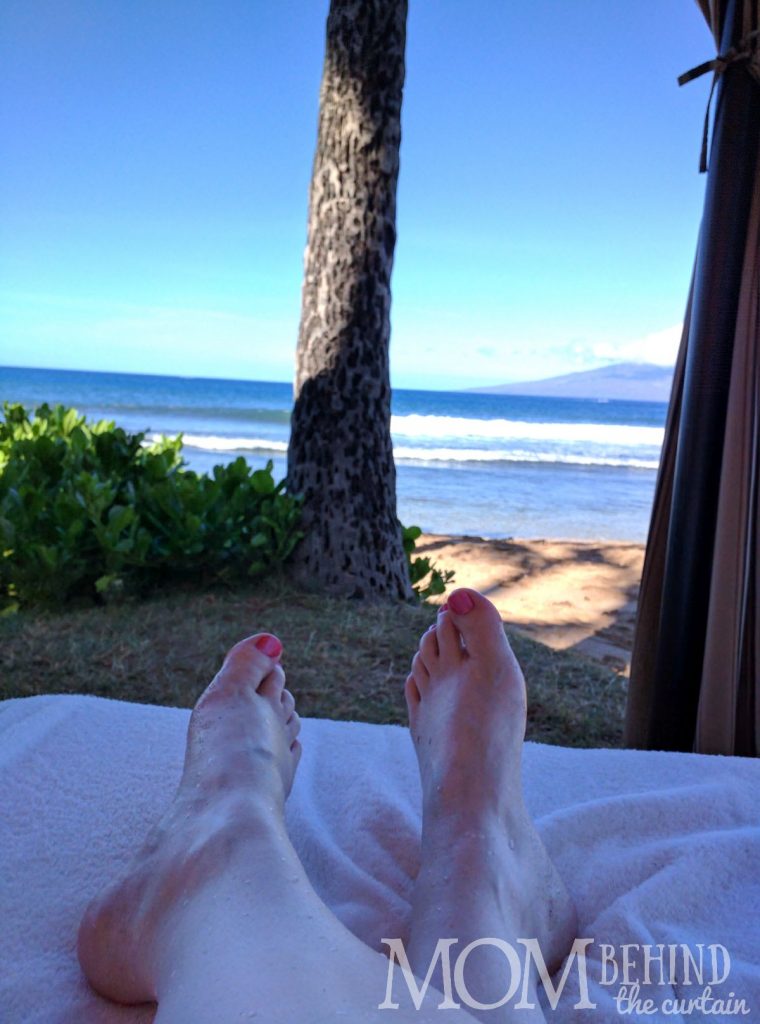
That’s it! All your photos are ready to go in a snap! Here’s what one of my photos looks like that I processed that way.
